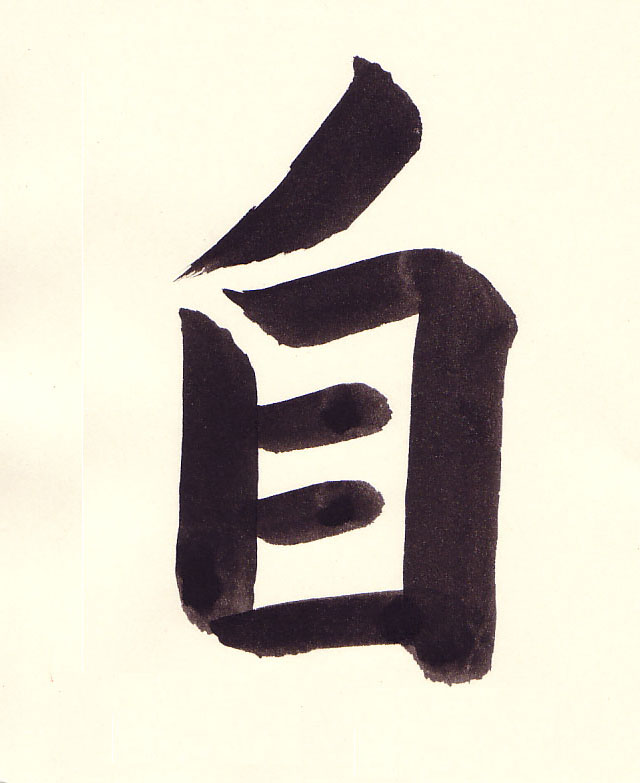
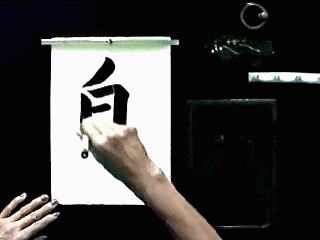
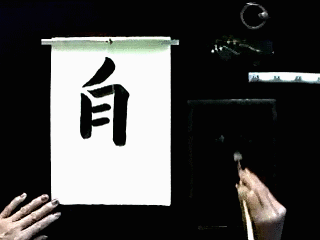
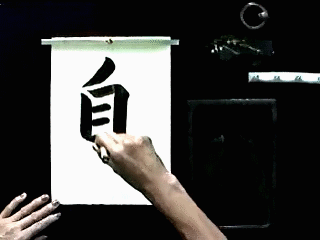
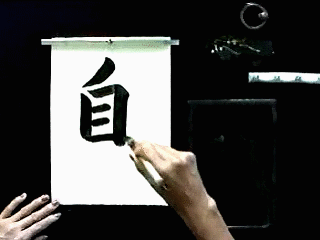
Lesson 5 - Ji (Self) 自
In this lesson we are going to work on the hidarihane, tensetsu and yokoga.
Lesson 5 Vocabulary
| Romaji | Hiragana | Japanese | English |
| chuu | ちゅう | 柱 | Pillar Vertical Line |
| hidarihane | ひだりはね | 左撥ね | Left Flick Stroke |
| ji | じ | 自 | Self |
| tatega | たてが | 縦画 | Vertical Stroke |
| tensetsu | てんせつ | 転折 | Continued Line |
| yokoga | よこが | 横画 | Horizontal Line |
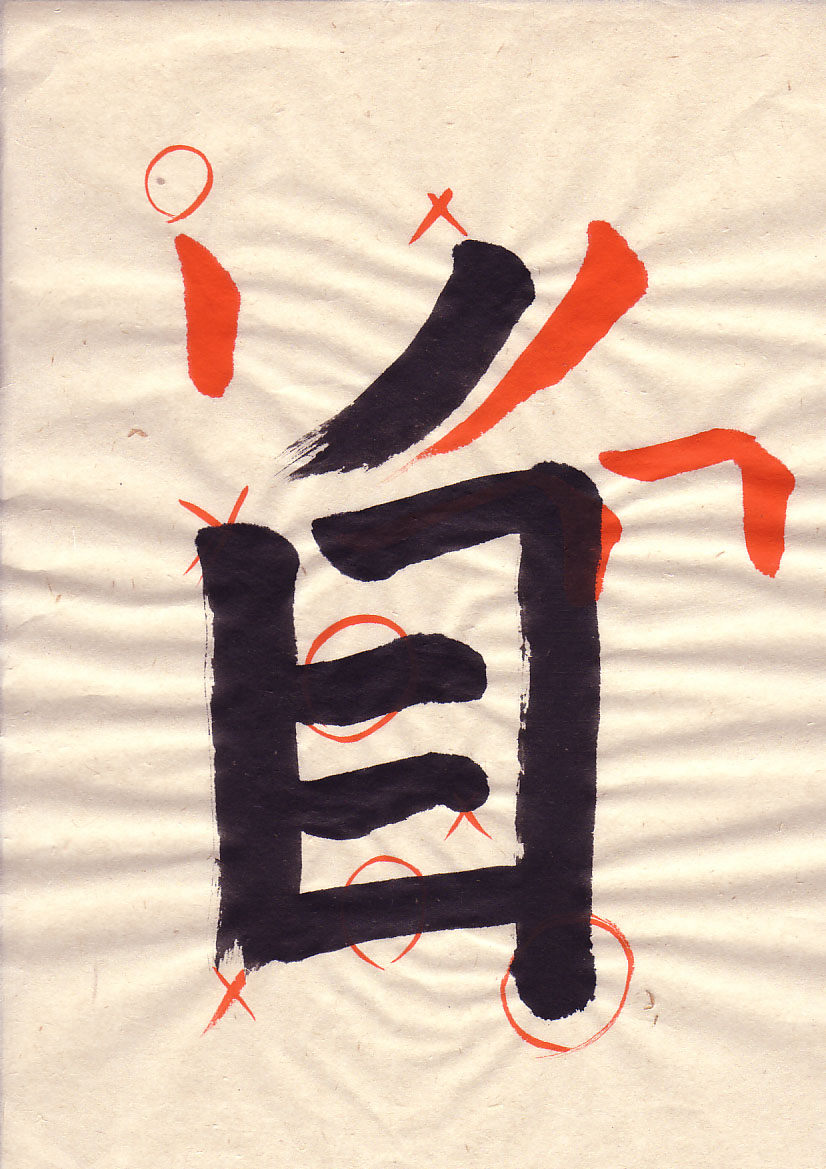
| Introduction Samples | |
 |
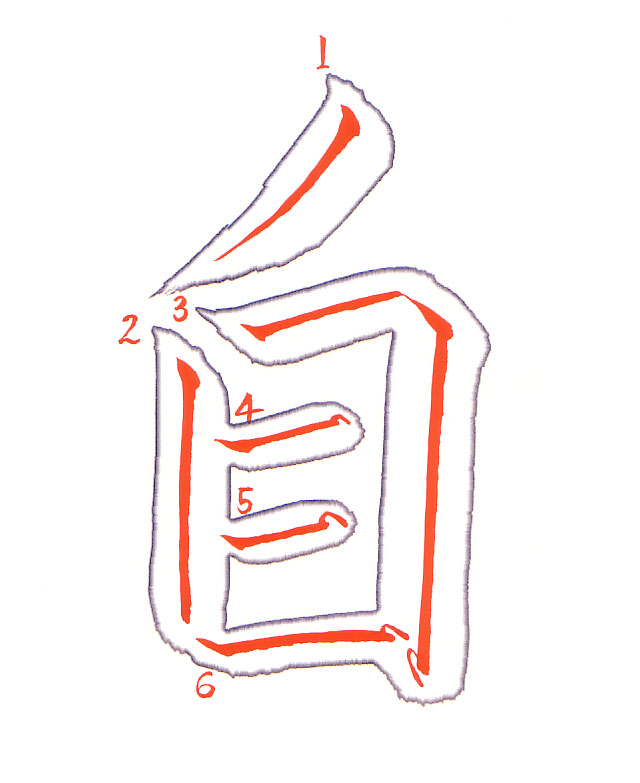 |
| Introduction | Introduction Annotated |
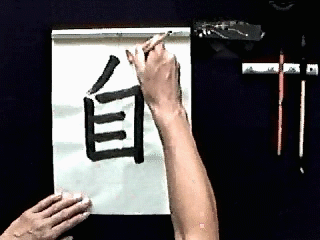
Introduction Sensei Video
In this video you will note that the character is not well centered. In creating this video, Takase Sensei was seated in a position that was convenient for the camera but not for calligraphy. The result being that the character is not centered. This may be a good time for you to revisit lesson one and check your posture and position. To re-iterate:
Proper posture and position is critical.
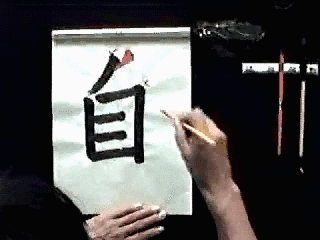
| Introduction Sensei Video - Frame by Frame Analysis | |
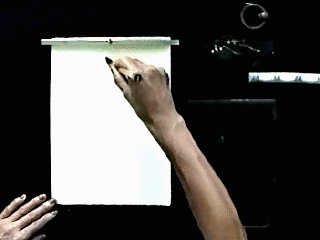
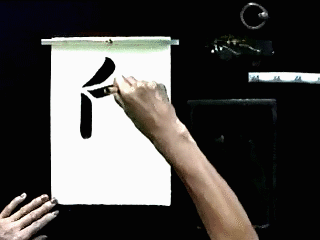
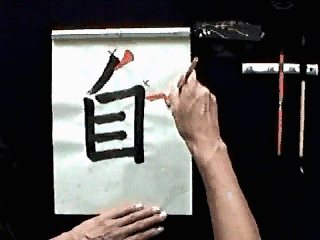
1. The brush is applied to the paper at a 45 degree angle. |
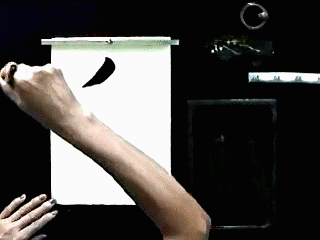
2. The hidarihane is a quicker than the harai strokes. While the hidarihane is not a sharp movement, it still requires a large arm movement. |
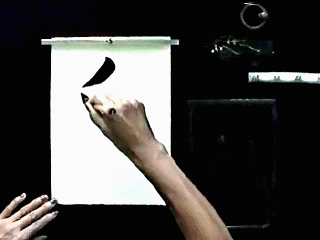
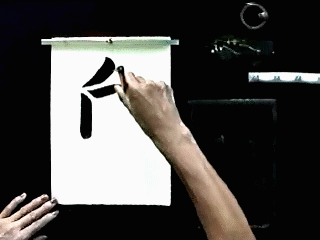
3. To start this tatega縦画 (Vertical Line) called chuu 柱 (Pillar), apply the brush to the paper at a 45 degree angle just below tail of the hidarihane 左撥ね (Left Flick Stroke). Then press down slightly on the brush. |
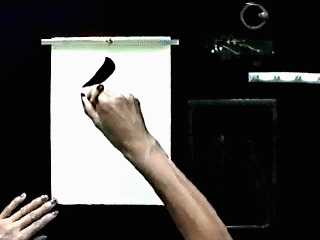
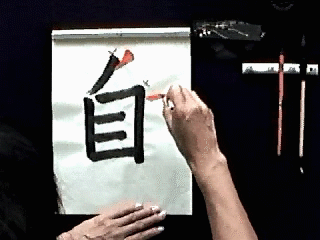
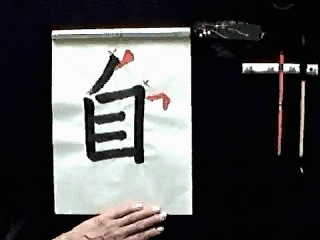
4. Rotate the hand slightly clockwise to bring the thick part of the brush to face downward (towards the bottom of the page) and slightly to the right. Use the arm to draw the line and keep even pressure on the brush to ensure a consistent line width. |
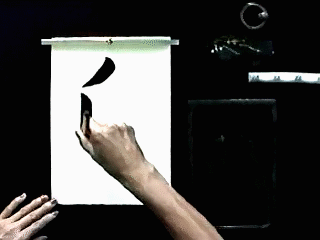
5. To end the chuu, release the pressure on the brush a bit, the brush tip is moved up and to the left then as pressure is reapplied bring the brush downward. The line is finished by bringing the brush up and off the paper. |
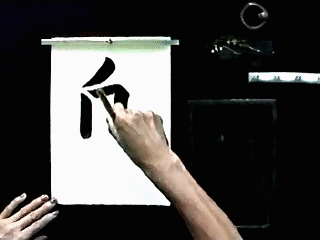
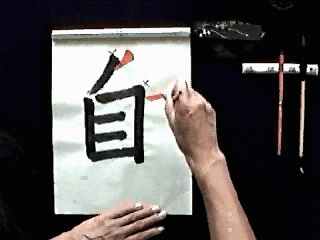
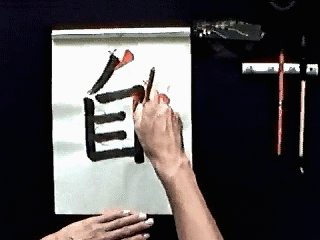
6. For the tensetsu 転折 (Continued Line), apply the brush to the paper at a 45 degree angle. Press down very slightly on the brush. |

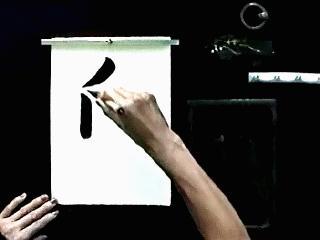
7. Then rotate the brush counterclockwise so the thick part of the brush is facing to the right and is angled slightly upward towards the top of the paper. Also the brush is tilted by bringing the end of the brush to left. The tip of the brush is now well to the right of the end of the brush and because of the curve of the brush the bristles are in good contact with the paper. |
8. Using the entire arm and consistent pressure, push the brush in a straight line that is angled slightly upward. |
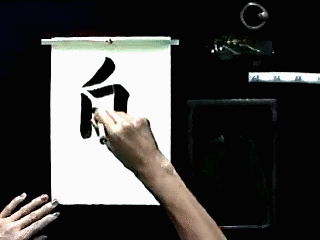
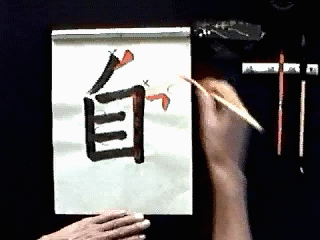
9. The hand is rotated clockwise and a short 45 degree angle line is drawn. |
10. The tensetsu is finished by bringing the brush up and off the paper. |

11. Note that the tensetsu is about a brush width longer than the tatega on the left. |
12. The yokoga will divide the rectangle into even sections. The placement of the first line is important. |
13. The second line in the middle is an even distance from the first list. |
14. The yokoga are evenly spaced. |
15. The final yokoga is of the same width and spacing as the other two. |
16. Notice that the vertical lines are thicker than the horizontal lines. Also notice that the tail of the tensetsu protrudes a bit. |
| Introduction Student 1 Video | |
| Introduction Student 1 | Introduction Student 1 Critique |
| Introduction Student 1 - Frame by Frame Analysis | |
1. The hidarihane should start by applying the brush at a 45 degree angle. There is a slight pause here as the brush is readjusted so that fat part of the brush is facing the stroke direction. |
2. Here the student did not draw the 45 degree transition line. |
3. The corner of the student's tensetsu does not have a nice angled edge. This is because the student went directly from the horizontal line to the vertical line without creating the 45 degree angle transition line. |
4. At the end of the horizontal component, pause briefly to rotate the brush clockwise so the fat part of the brush is facing down and to the right. Then draw a very short 45 degree angle line. |
5. After the 45 degree angle line, the brush is rotated clockwise once again to face downward and slightly to the left. From this position the vertical line component can be drawn. |
6. Notice the difference in the corners between the two tensetsu. |
7. The vertical component of the tensetsu must be straight and should angle inward slightly to the left. |
8. Another view of the end result. |
| Introduction Student 2 Video | |
| Introduction Student 2 | Introduction Student 2 Critique |
Introduction Student 2 Critique Close-up